
Cutting wide boards with a miter saw can be enjoyable if you know the right instructions on how to cut wide boards with miter saw. A miter saw will perform efficiently if you can run it on the right path.
A miter saw is of many uses. The efficiency and productivity of the miter saw depend on your cutting skill.
To ensure your woodcutting skill, you just have to follow the steps eventually.
Dig deeper with knowing your miter saw.
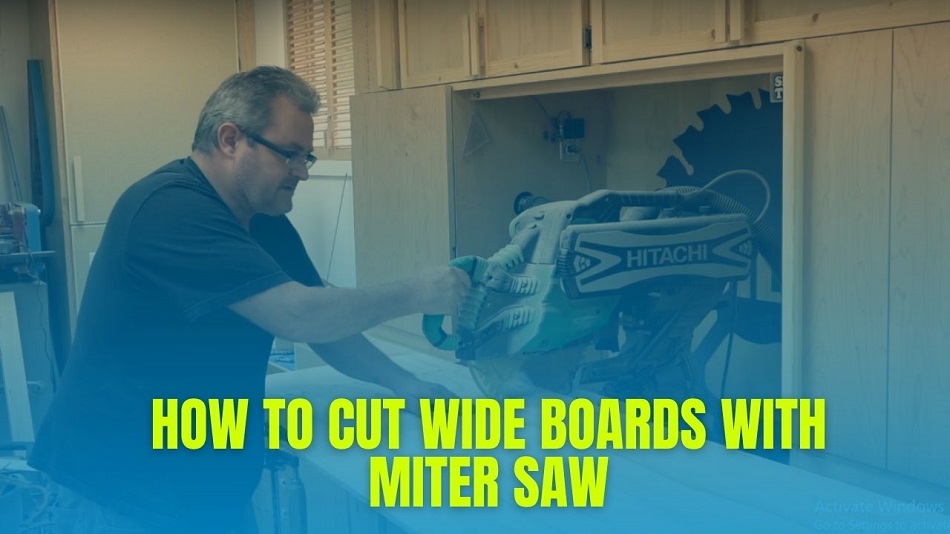
Cutting wide boards with the miter saw
1. Know the probable issues with wide boards and miter saw:
When cutting a wide board, we may think about the large saw. I appreciate your opinion. You can cut wide boards with a miter saw easily.
Before setting up the miter saw, you may find the way harder at the first impression. Believe me. The process is so easy.
Here, you have to use clamps to hold the cutting pieces. You cannot cut a wide board at a time with a miter saw. You have to flip the board and cut again.
It means it will take some time to have the cut. Don’t worry. Target the perfection of the work, not the time.
2. Learn your miter saw:
You will find three types of miter saw in the market. They are a Standard miter saw, sliding miter saw, and Compound miter saw. A standard miter saw is the simplest version of the miter saw.
It can cut -45-degrees and +45-degrees. It is better for making angle cuts. You can use it to cut wider boards too.
Next, a sliding miter saw is the best one. This miter saw is so efficient to cut wider boards. It can cut up to 6-inch in width. If you have not arranged any miter saw yet, you should hire one for cutting wide boards.
On the other hand, a compound miter saw is a combination of the sliding and bevel miter saw. You can use it for multi-purposes.
3. Know about the blade:
The blade may come in two directions. They are positive hook angles and negative hook angles. Whatever the directions are, you can use those cutting wide boards with the miter saw.
4. Arrange the necessary things:
First, you have to arrange a miter saw whether it is standard, sliding, or compound. You should arrange one regarding the cutting pieces.
If you are going to cut the wide board with a standard miter saw, then you must arrange two clumps. These clumps will hold the cutting piece straight so that you can run the blade on the correct line.
Arrange a mobile stand to set the miter saw. If you have installed the miter saw previously, then just fix up the holding stand.
Get a maker, scale, and measurement tape. You have to mark the cutting area that needs to mark down first.
5. Ensure safety measures:
As you are going to deal with a machine with a blade, you must take safety measures. An upgraded miter saw includes safety guards.
Here, you should arrange goggles, hand gloves, and a dust protector. Wooden pieces create tiny dust that you may not see in open eyes. These tiny droplets may enter your eyes and make your eyes itching.
Hand gloves and dust protectors will save you from sharp edges. Next, check out the settings of the miters saw. It should have a blade guard that will move automatically.
6. Mark the board:
This is the crucial stage. You may have to cut the wooden board twice. A miter saw may not cut the wide board completely on the first try.
Place the wide wooden piece in a flat place. Measure the area that you want to cut. Mark the area with the marker. Flip the board and mark again straight following the previous mark.
Don’t forget to mark both sides. This is a wide board. You cannot cut it on the first try. You have to cut the board eventually following the marked area.
7. Set the cutting piece on the miter saw:
Once you have marked the cutting area, set the wide board in the miter saw stand. Although you can make the first cut using the clump, you don’t need it.
Find the scale in the miter saw that you can follow to set the board. After putting the board in the stand, check out the marked area with the blade position.
Set the blade position using the screws. This is the last setting. Check out the blade position eventually.
8. Fix the clump:
Arrange the clumps in the table. You may not need to use the clumps in the first cut. You have to set the clumps after the first cut. The clumps will help you to hold the wooden piece straight like before.
If the miter saw holder has space to use the clumps for the first time, then set the clumps. The setting of the clumps will help you hold the wooden piece in the right place.
9. Make the first cut:
Plug the power cable into the electric board. Hold the wide board with one hand and hold the miter saw handle with another hand.
You will find a button on the handle grip. Press the button. The blade should run. Move the handle down through the board. It should cut the side of the board easily.
After having the first cut, hold the cutting piece and set the clumps. Take two clumps on the two sides so that the wooden piece remains the same.
Flip the wood and place it in the same position. Hold the handle and run the blade through the marked area. It should slice the board easily. Now, unlock the clumps and separate the cutting pieces.
10. Follow up:
Cutting boards with a miter saw is easy if you follow the process eventually. The most important stage is after the first cut. You have to join the cutting area with the clumps to approach the second cut.
Bottom line: As you are at the bottom line of this article now, you know how to cut wide boards with a miter saw. You may not have the perfect cut on the first try.
Go through the steps repeatedly so that you have the process in your brain.
Related Article: